


I’ll cut to the chase here. The main reason why you’d want to organize files on your computer in an efficient, easy-to-reference way is the same reason why you’d organize financial papers related to your business: you don’t want to lose track of previous work in case of inspection or emergencies.
Also, in a world where big data dictates our lives, keeping your files organized gives you real long-term benefits. Say you’d want to start a proper business for example, and you need previous work data to analyze demand patterns for specific services. Organizing files allows you to do that.
If you want to organize files on your computer the right way, you have to do that in a chronological order. Yes, you can give your files any name you’d like, but there’s one crucial step that you should never skip when archiving your files – renaming them by using dates.
Here’s how to do that.
How To Organize Files on a Computer by Creating a Timeline

Renaming and Organizing Master Files with Timestamps

The first step usually involves downloading client or project data. Never store downloads as they come in; the download folder should be treated as a temporary folder. Instead, copy or move the “master files” provided onto the desktop and rename them by using dates.
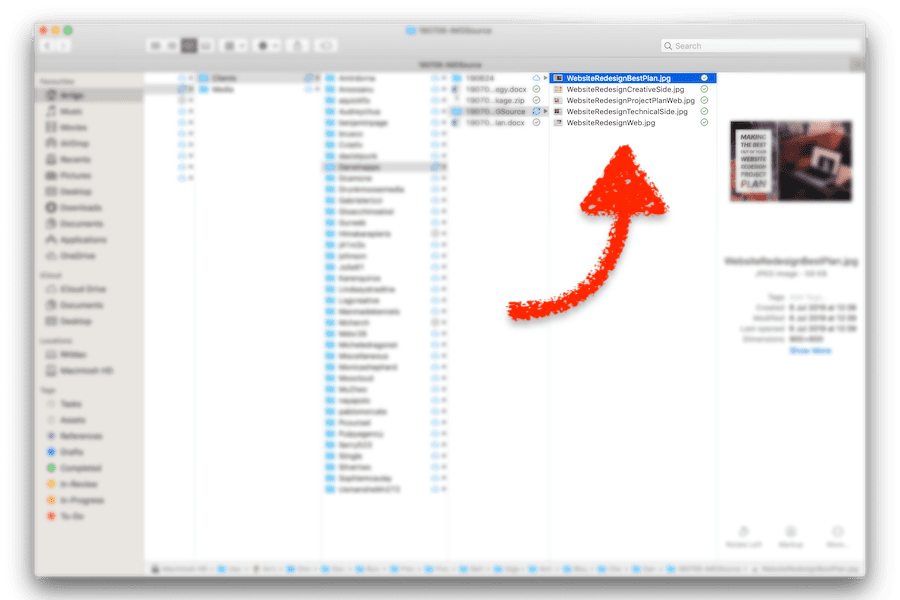
For example, if you download a source file provided by the client named “translation-file” (or something along those lines), move it onto the desktop or any other folder and rename it in the following way as an example: “190710-ENProjectDescriptionSource”
As you can see from the picture, every important file needs to have its own timestamp at the beginning! Do not place it at the end. You can use either [YYYYMMDD] or [YYMMDD] but I always use the latter because it occupies less real estate on my screen.
Renaming Assets and Organizing Them in .Zip or Folder Packages
The second step regards assets that you are creating for the current project. These are the files that aren’t given to you by clients and which you are creating to complement the master files. The latter were either given to you or you created them on your own in case of personal projects (look at step one).
When you create asset files, you don’t have to label them with dates. Simply give them short, detailed names and try to use specific keywords to help you retrieve them. An example of this could be: “AssetNamingExampleBlur,” which was applied to the image above. You can also use dashes to separate keywords.
Once you are done with all the complimentary assets, simply package them in either a .zip file or a folder and name that folder something like this: “190710-IMGProjectPackage,” replacing [project] with the name of your current project- Be descriptive!
Duplicating Revision Documents and Using Proper Naming Schemes
You have now completed your project and you’re ready to send it back to your client. You don’t have to do much at this point. If the client requested the source files, simply send the packaged .zip file together with the master file – no need to rename them.
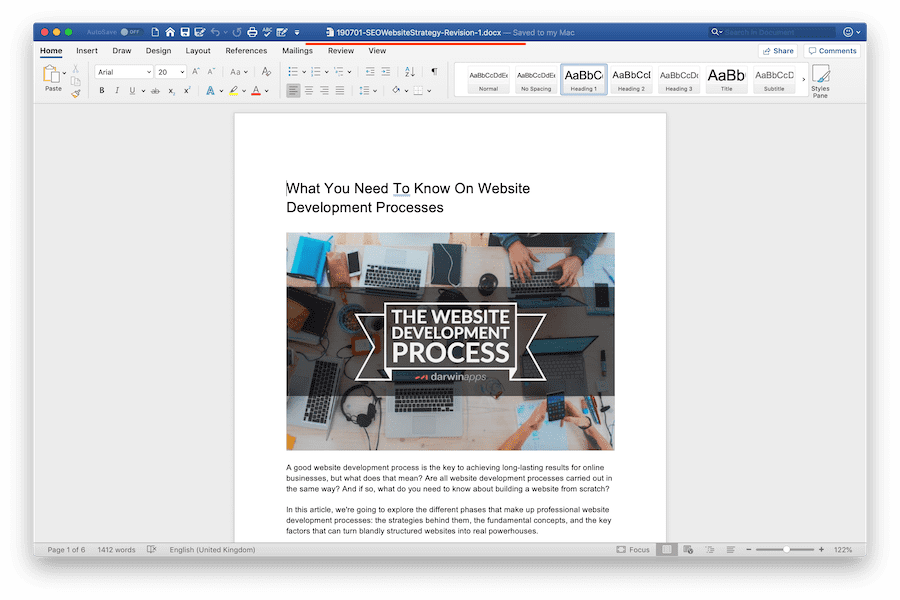
The same applies with revisions. Always make a copy of the master file when making revisions for both personal projects and client work! Then, update the timestamp and use a keyword for revisions, something like: “190711-ENProjectDescription-Revision-1”.
Ideally, you want to separate numbers from text with dashes (dash-case). This allows you to search for keywords without them counting those numbers in. Once you’ve done this and you are 100% sure that the project is completed, it’s time to archive the files.
Moving Files to the Project Timeline (Archiving Files)


The fourth step is the most important one, and it’s the reason why you want to achieve a standard naming scheme like the one highlighted in the steps above. You are now going to create an effective timeline that will allow you to skim through projects super-fast.
In order to do this, you have to structure your data in a comprehensible way. The timeline should refer to a single client, an organization, or an ongoing side project. It should always be clear where clients and projects are, and which platform they are linked to.
For example, in the pictures above you can see my folder structure (click on them to make them bigger). It’s still not perfect, but I’m improving it as I collect more data. Gather your master files, assets, revisions, and whatnot, make sure they are labeled correctly, and drop them into the timeline.
Note: make sure to sort your files by “name” so that the system can recognize dates properly. That way, your timeline will always be clean, both on Mac and Windows.
That’s it! You just organized your files by creating an efficient timeline that you can always go back to and reference. The timeline should only include master files, asset packages, revisions, and important changes to work on projects and client data. Nothing more, nothing less.
From there, you can dig deep into the asset folders and find everything related to a project without the hassle of going through separate “media” or “assets” folders. Separating things into different folders won’t help you and it’ll only result in a massive headache.
Why You Should Organize Files on Your Computer and Never Delete Them

But you should do all of these things, and here’s why:
- It allows you to retrieve information in case your client loses a file
- You can keep your work consistent with previous implementations
- It helps keep things organized in your head, preventing confusion
- No more manual retrieval, simply use the search feature on your pc
- It helps gather data to improve your business in the near future
- If you’re a control freak, it’s a good way to keep things under one roof
- It’s a long-term commitment to providing high-quality services
and so on.
I could write an entire grocery list of benefits here, but I’ll let you implement the structure so that you can discover them on your own. I hope this article was helpful. Please comment and contact me if you have any further questions; I’d love to hear from you!